DIY Underground Downspouts 5 Critical Tips from Drainage Contractor
Standing water causes a myriad of issues for homeowners including flooded basements and crawlspaces. Underground downspouts can provide homeowners with a DIY-friendly, low-maintenance solution to prevent those issues. As the yard drainage experts, we have 5 critical tips to follow when installing your DIY underground downspouts.
1. Always Use Pop-Up Emitters
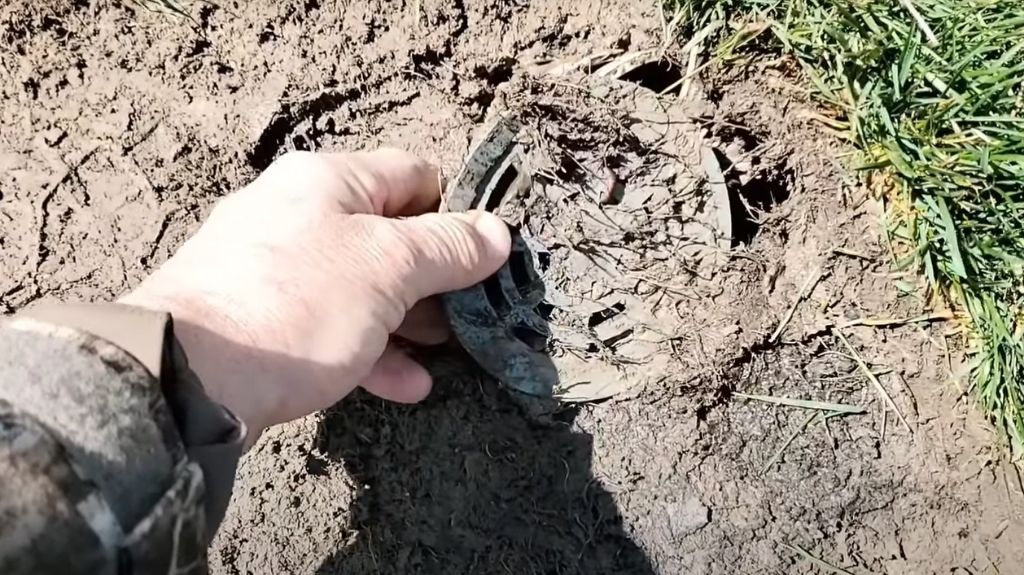
When burying downspouts, always choose a pop-emitter over a grate system. Grate systems are not convenient for homeowners to reach in and clean out. For example, this buried downspout was a grate system.

It had a four-inch grate, and the grass just grew right over it. Debris was clogging the system because when it was installed, they thought a four-inch grate would be enough. The grass grew over it and prevented water from moving through. Here at French Drain Man, we have a pop-up emitter that you just flip up, reach in, and clean out any leaves or debris. Our new downspout pop-up emitter has a turf restrictor plate that prevents grass from growing over it and keeps your roof runoff system free of debris.
2. DIY Underground Downspouts Need Catch Basins
When your roof runoff system doesn’t have any catch basins, you end up with shingle gravel in the line. Installing a catch basin allows for the shingle gravel to fall into a lower point. Shingle gravel can now move to the low point where a catch basin is located and be easily cleared out.

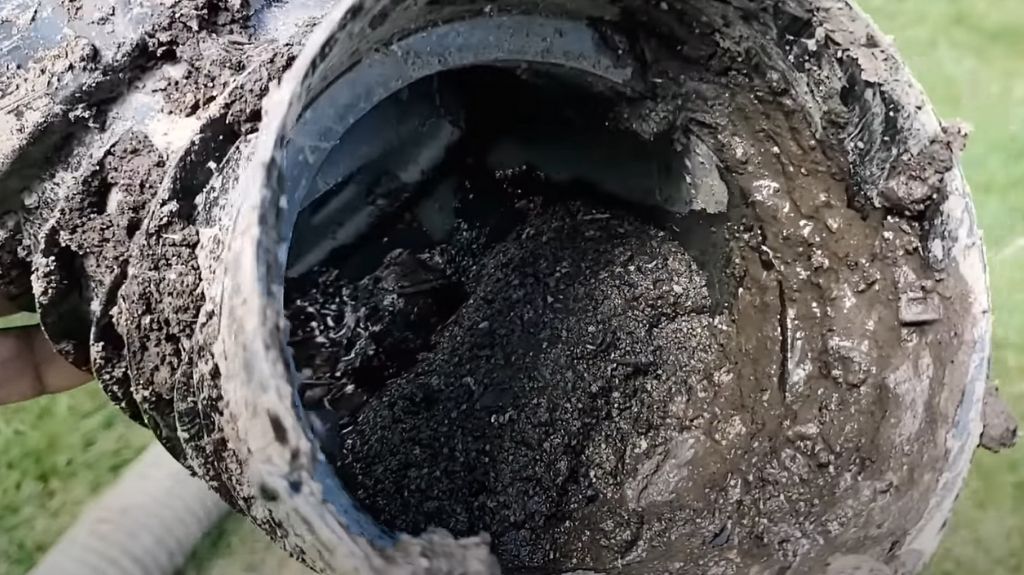
Look at all the shingle gravel that was in this system that didn’t have a catch basin. This is a smooth interior 90. You can see where the water hit this interior 90 and slowed down to create a buildup of debris. There’s quite a bit of shingle gravel in there.
That’s why it’s a great idea to have catch basins on all buried downspouts. Catch basins create a low point for the shingle gravel to fall into and collect. Then, you can suck it out with a wet-dry vac or reach in with a glove and scoop it out twice a year if you have a newer roof or yearly if you have an older roof that’s losing a lot of shingle gravel.
3. Fewer Fittings Allow More Flow and Velocity
The more water that you can run through a line, the cleaner it will remain. The goal is to create a system that doesn’t have too many fittings. You need to be careful of which fittings you use to install your buried downspouts. For example:
- Minimize the amount of smooth interior 90 fittings
- Avoid using T fittings
- Use plenty of Wye fittings
Anywhere you need to merge two drain lines, you want to use a wye fitting. The wye fitting doesn’t slow the water down. It keeps the velocity of the water up. You’re not going to have problems with these areas that just end up collecting debris and keeping the water flowing.
People always ask, how many downspouts can you put on one line? The answer is up to four downspouts per line. The more water that you push through the line, the better.
A good practice when installing wye fittings is to lay out the fitting with some drainage pipe where you plan to install them. Now you can dig out the grass exactly where you need it, and your system will go together nicely. The reason that a lot of guys end up using T-fittings is because they don’t take the time to do that. They just come straight off a downspout right into a line with the T-fitting. I strongly suggest that you do not use any Ts. The water just slams to a stop, and it becomes an area where the shingle gravel builds up.
4. Don’t Lift the Line – Use Risers Instead
Some catch basins need to be elevated with a riser, and I’ll tell you why. If you lift the inline catch basin up to get it flush with the grass, what did you just do? When you raise the catch basin, you lift the line. Now water has to go uphill. You lost the slope and created a belly in your underground downspout. A belly your system creates a big trap for all the shingle, gravel, leaves, and debris. Instead, use a riser to elevate your catch basin without compromising the slope of your underground downspout.
5. Take the Water Far Away from the House
You may be wondering how far to run your underground downspout or pop-up emitter. There’s no set rule about how many feet out you must go. Just go as far as you need to take the water far away from the house. In this instance, we dug through a berm to get the water out of the yard so it wouldn’t pool in one area. Previously, the water was trapped between landscape beds.

Also, make sure you don’t dump the water right by a fence. Fence posts have a concrete footer that can be damaged by excess water. If you put a pop-up there, you’re going to saturate the soil in the winter. The frost will travel down the saturated soil faster than it would if the area were dry. Then, the concrete footer will heave and pop out those fence posts like toothpicks. Once that happens, the fence just ends up wavy and wonky causing another problem for the homeowner to deal with.
